facebook twitter instagram
  • Home
  • Contact Me
  • Brands we Love
  • Features

SamanthasSnaps

Model, Mua, Fitness, Food, Life.


So we visited Da Mario Kensington for the second time.
I went for a different starter this time 'Avocado E Gamberetti su rucola con salsa rose'. Which was avocado and prawns on rocket leaves with pink sauce.

The other starter was 'Pan el pomodoro e erbe mista'. Pizza bread with fresh tomato, fresh basil, sliced garlic, rosemary and oregano.

Both quite simple dishes but absolutely delicious. One thing about this restaurant is everything is so full of flavour!

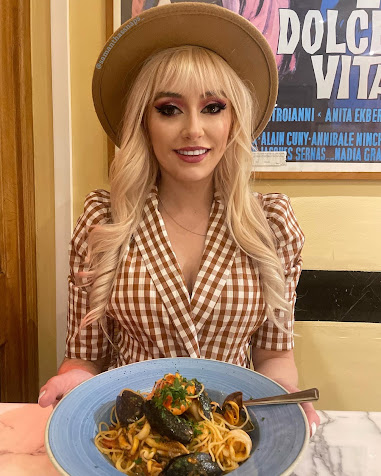
For the main I went for the same pasta dish as the first visit, purely because it was so delicious I wanted to try it again!

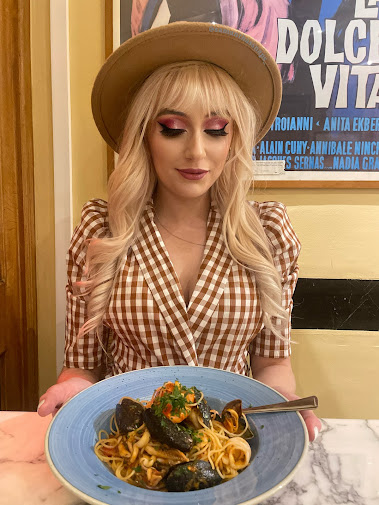
I had Spaghettini Sapore Di Mare which had squid, baby prawns, mussels, octopus, king prawns in a cherry tomato sauce fused with garlic - making the perfect pasta sauce.

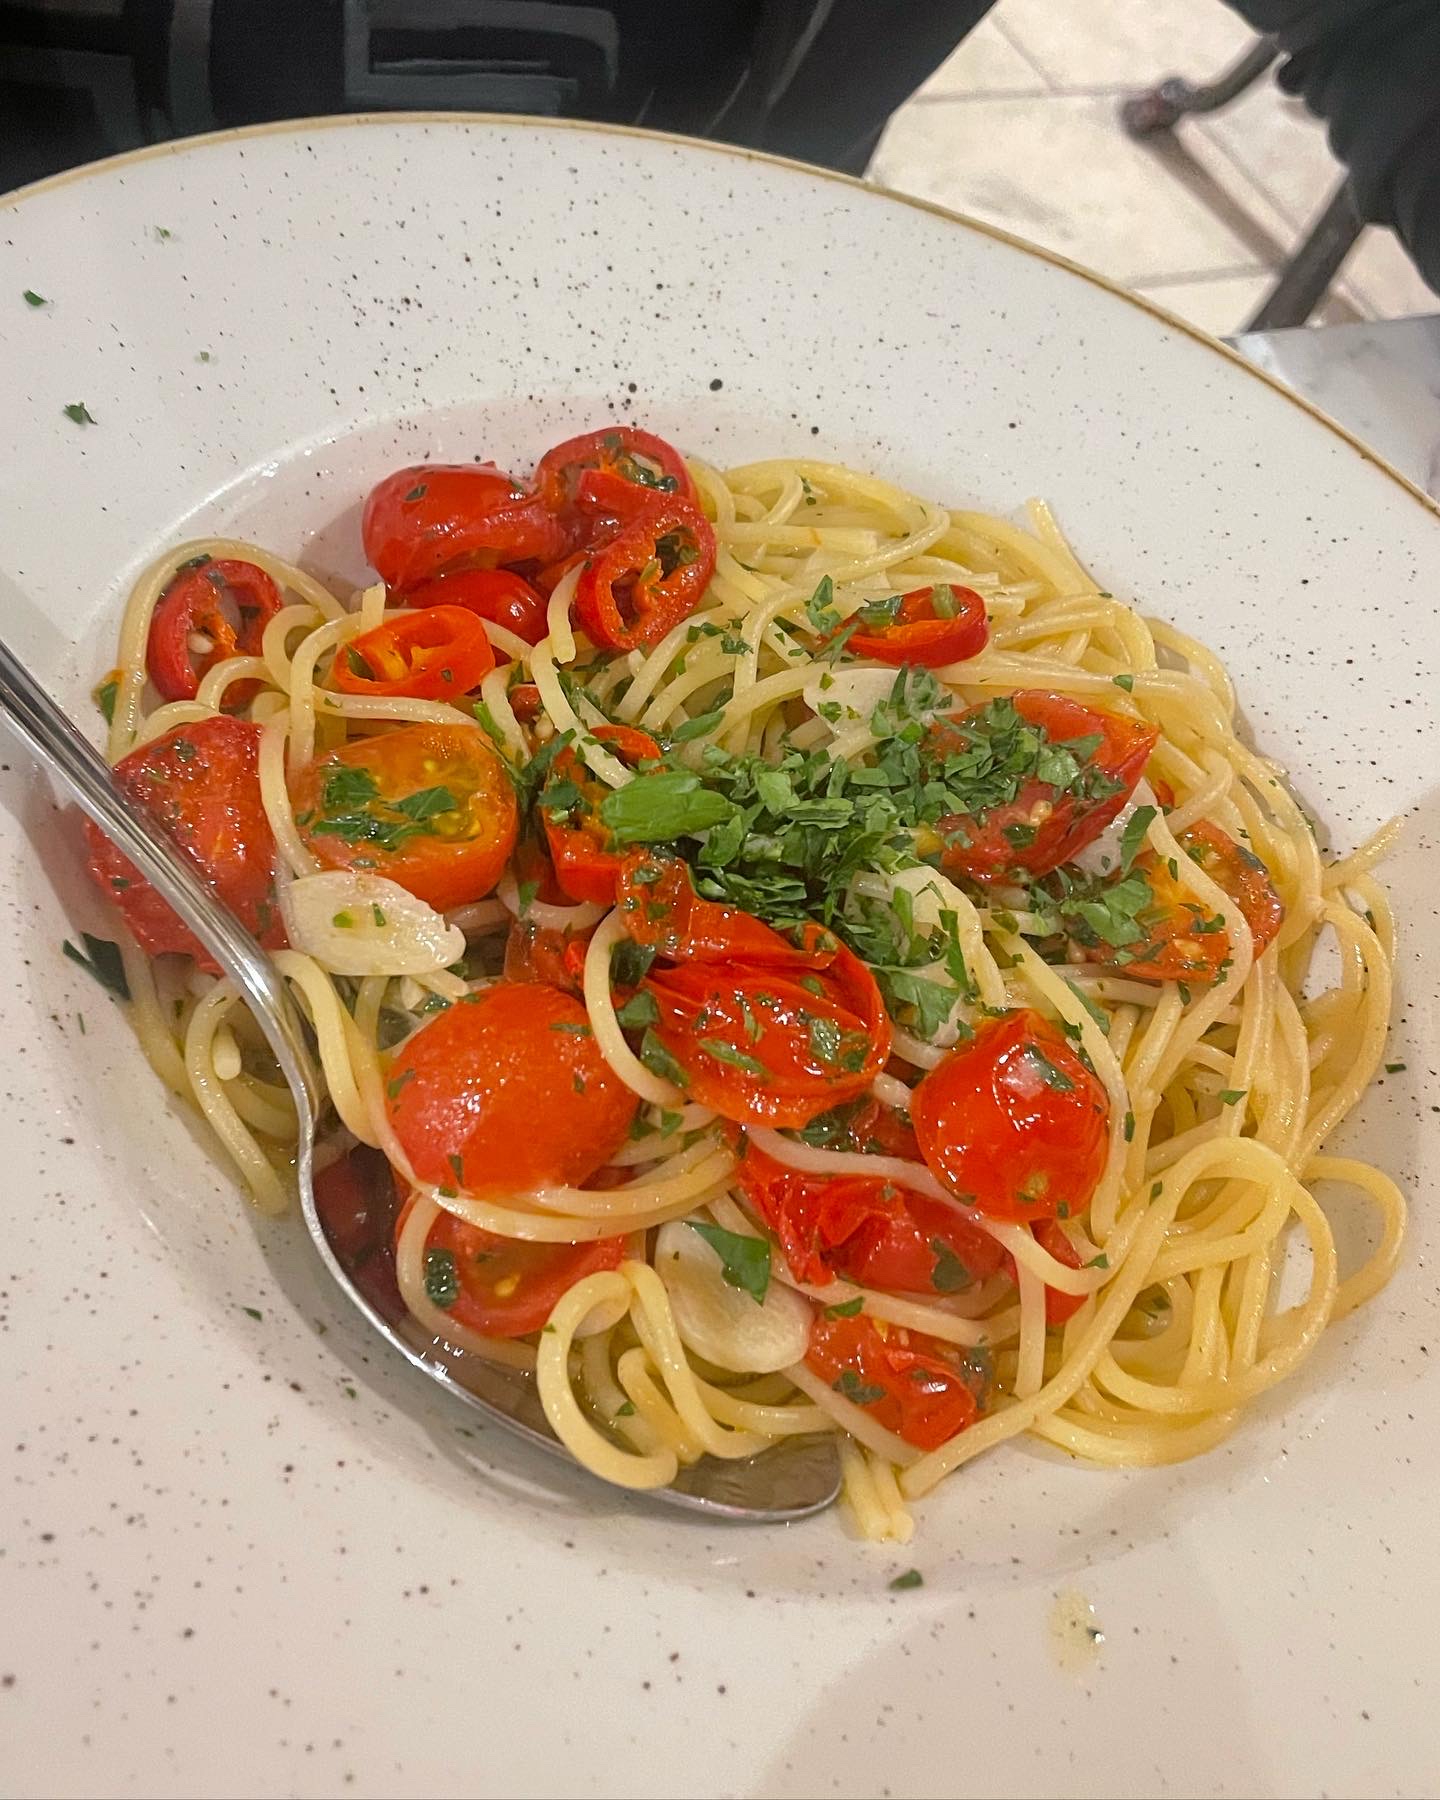
The other pasta dish is Spaghetti Aglio, Olio E Pomodorini. With an
olive oil dressing infused with garlic and chilli with cherry tomatoes. I can't eat chilli so I can't personally vouch for the taste, however it looks beautiful and it's a favourite for when we visit.

We had a pizza as a side dish this time just so we could sample their famous pizzas. We chose Margherita with mozzarella, parmigiano and basilico. Again a rather simple dish to save the decision making between the toppings between us.


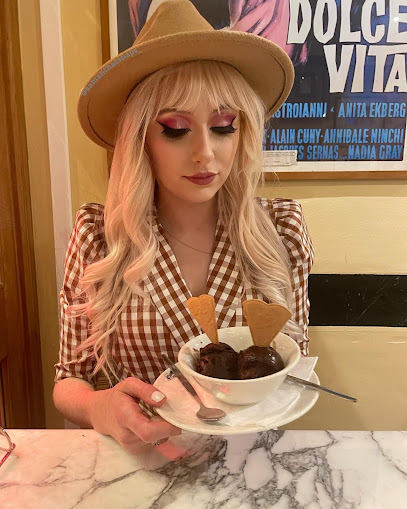
The dessert was a chocolate sorbet. We picked that one as I am a big chocolate fan anyway, but I'd never tried a chocolate sorbet before. It wasn't as sweet as ice cream but had a very intense chocolate taste without all of the dairy to do the talking. Highly recommend!

This restaurant is my favourite in London so far for fresh, proper Italian food that is just unmatched. The prices are good too, with starters ranging from around £5 to £10. The mains are also reasonable prices with my main being £16.90 and the main pizza was £10.90.

The restaurant was a short walk away from the hotel where we stayed, the area was perfect for the walk before and after dinner.  

Da Mario Kensington | Instagram | Website
Post 1 | Post 2


* Outfit: Boohoo, shirt dress and black cycling shorts.


Samantha
x


April 11, 2022 25 comments

The pie bakes with a beautiful glazed top, it almost looks like a creme brulee with a beautiful sweet scent. the pie does not taste of pumpkin, simply a healthier sweet dessert which we can e njoy around halloween when we can gather the autumn ingredients needed. Perfect served hot or cold <3

Do you have a sweet tooth? Someone in your family that won't eat any veggies? Are you trying to find some healthier sweet treats? This one might be for you. 

Ingredients
Pie filling:
500g pumpkin, cooked and blended.
1 tin (410g) semi skimmed evaporated milk
2 eggs, beaten
175g Erythritol Sugar (zero calorie)
1/2 teaspoon ground cinnamon
pinch of salt
2 teaspoons of butterscotch essence.

Pastry:
Ready to roll shortcrust pastry
OR
Healthy option - 
135g gluten free rolled oats
60ml olive oil
2 teaspoon erythritol sugar
pinch of salt

Prep:30min  - Cook:1hr10min - Ready in 1hr 40min - Serves 16
Method.

1. Preheat oven to 180 C / Gas mark 4.

2. Halve pumpkin and scoop out all of the seeds and stringy bits. Cut the pumpkin into chunks (leaving the skin on). In a saucepan over medium heat, cover the pumpkin with water and bring to the boil. 

3. Reduce heat to low, cover and simmer for 30 minutes or until tender. Drain, cool and remove the peel. I just used a spoon to scoop the pumpkin from the skin.

4. Put all pumpkin inner into a bowl and drain well. Either return the pumpkin to the saucepan and mash with a potato masher, or pop all pumpkin into a blender.

5. Measure 500g of the pureed pumpkin; reserve any excess pumpkin for any other recipe (Pumpkin soup is delicious)

Pastry - ready to roll
1. Grease the Pie dish, then roll out the ready to roll pastry and place the pastry in the dish. Ideally a pastry dish with a diameter of 12'' and a depth of 2-3'' would be great. However I used a cheesecake pan with a push up base that was 9.5'' x 4.5'' and this is fine too, it just means you get more height with each portion. the get the calorie measurements below it must be divided into 16, it's just easier on a wider pan to do this. 

OR

Pastry - healthy
1. Prepare pie dish by greasing with olive oil.

2. Blend the oats in a blender or food processor 2-3 minutes until it becomes a light flour mixture.

3. Transfer the blended oats into a mixing bowl and stir with erythritol sugar and salt to combine.

4. Make a well in the center of the mixture, add olive oil and stir until crumbly. Add 4 tablespoons of water, one tablespoon at time to the mixture, while stirring until the dough becomes slightly moist and sticky.

5. The batter may still fall apart, but will stick together easily if you pinch it together. If it doesn't, add 1-2 tablespoons of water more.

6. Press the dough into the prepared pie dish. Press it flat and even across the bottom and up the sides.

7. Bake it at 180C for 10 minutes until golden brown. 

Back to the filling:
In a large bowl with mixer speed on medium, beat the pumpkin with evaporated milk, eggs, erythritol sugar, cinnamon, salt and butterscotch essence. Mix well. Pour into the prepared pie dish. Bake 40 minutes or until a knife inserted in the centre comes out clean.

I will pop the nutritional intake sheet below, I have imported the calorie data from My Fitness Pal, If you are using a ready roll pastry instead of the healthy option then simply discard the healthy option calorie data and replace with the total calories of the roll, and divide by 16 to get the individual portion measure. If you are using the healthy pastry then simply add the 'per serving' of the filling and the pastry which is only 105cals per portion!!

Morrisons - Ready to Roll Shortcrust Pastry, 375 g1,66914510923212


I hope you enjoy this recipe! I have baked this one yesterday to trial my ingredients and I can confirm it is delicious! 

Love
Samantha 
x
November 05, 2020 23 comments
I have had a little bit of a play with polygel and doing nail extensions with them. I feel like I quickly gained my confidence with polygel and I jumped into doing 3D sculpted nails really quickly. I started off with two white gel nail bases, one I sprinkled with pink and iridescent glitter then the other I sprinkled with pink and iridescent. The white base helps give the glitter a chance to stand out, and also gives some depth to the 3D sculpt to come.
On top of the glitter, I then used a very small amount of clear polygel and used slip solution in order to shape the gel into something which resembles a shell. Curing that after shaping, then a very thin layer of clear top coat to give the shine I was looking for. Again, I love these designs which remind me of mermaids. 

I think the photo above doesn't do the nail on the left enough justice; I started with a while gel nail, then put a few dashes of red, orange and pink. After curing, I added another clear coat and some tiny pieces of foil then cured. Again another clear coat, added some glitter strands of various colours with a little more foil and cured. The next layer was a pearly transparent gel, cured and another clear top coat. In person you can really see the depth of layers and details in the nail, each layer of glitter and foils catching the light.

The nail on the right is my first attempt at doing 3D flowers, I used a clear polygel with a dash of white gel polish mixed in on a pallet before it even touched the nail. This combination does make the consistency much thinner and runnier than I wanted and unfortunately that meant that the mix would spread fairly quickly. Despite having a thinner mixture, I managed to work with it I do have some 3D modelling gel on the way which should so the job much easier.


This is the polygel kit I used from Amazon - https://www.amazon.co.uk/Modelones-Enhancement-Temperature-Professional-Technician/dp/B07MTZJMX1 . 
Have you ever had a go at 3D sculpted gel nails? What do you think of these designs?

Samantha
X
September 19, 2020 2 comments
What a brilliant storyline, bringing mental health into the public eye and allowing people to talk about it more freely. Showing the downfall of a person and the development of an illness; rather than just showing Arthur as a born madman. Arthur never would have transformed into the ‘Joker character’ if it weren’t for his deteriorating mental health, but his mental illness(es) wasn’t entirely responsible for that transformation; it was the loss of purpose that pushed Arthur over the edge. Even the relationships he thought he had were all an illusion. Arthur discovered some awful secrets in his adulthood about his mother; learning that she was a dangerous and hyper delusional narcissist. She also stood by her partner during Arthur's childhood, her partner abusing Arthur - This played a huge part in his troubled mental state.

As an inspiration to my art, here we have the Joker split in two. A battle of persona, a fight for sanity.

I have used a mix of Morphe brushes, Snazaroo brushes and sponges, unbranded brushes from ebay.
Snazaroo face paints: White, Bright Red, Blue, Black
Lunar Beauty, Strawberry Dreams: Haze, Blue Sky
Jeffree Star: Redrum Matt Lipstick
Sapphire Wigs: Beauty Town Green Lace Front Wig
Pinky Paradise: EOS Dolly Eye Green [Yearly]
Grillz: Amazon Seller
Eyelure lashes
The most difficult part of this look was probably trying to write letters on myself in the mirror.
I recorded the whole makeup look, so I will be putting together a tutorial video very soon and launching that over on my Youtube channel. I haven't posted any videos in a while but I have just moved house so now I have some space I am hoping to start filming regularly.

Have you seen the Joker film yet? What do you think of the joker makeup?

Samantha 
x

November 21, 2019 13 comments
I have had a lot of time recently to focus on my creativity and really try and master some new skills.
I have loved doing nail art for years, however I have more recently swapped out my regular nail polishes for gel nail polish. Very rapidly I have built up a whole collection of nail supplies as I have very much enjoyed teaching myself an art and exploring new techniques.

Above I have 3 designs: Flowers and then a northern lights design.
I am planning on doing a whole northern light range inspired by the lights I see when I visit my family in the Orkney Islands.
All of the designs above are hand painted, no water decals. We have a butterfly, cherry blossom and a swirly design.

Above is a whole range I have done using spider gels as the main technique, if you are new to gel nail art; spider gel is a thicker, stretchy gel which you can stretch to drape over the nails is a wide range of techniques to create shapes, lines, swirls and various designs.

Spider gels have become a staple in my nail art kit, being so versatile and so effective in such a short time.

Do you like my new designs? Which is your favourite? 

Samantha
X
August 12, 2019 23 comments
Whilst contouring is something I do daily, I have always stuck to the same three products for the past few years. I am that set in my ways that I have a mini melt down if I can't find my good old faithful contour brush (which is definitely coffin dodging).  I have recently decided to try and open myself up to trying new products so I can switch up my makeup routine.


On a recent trip to the makeup stores I came across the Stila Contour Duo, I tested the dark shade on my arm as well as the medium. Unfortunately they didn't have any light shades in stock. I am a very pale complexion, however I do like my contour to be fairly chiseled. I also like to have different shades in so I have makeup in my kit to do other peoples faces when needed. I picked the medium due kit, this is not sold with the brush. I purchased both separately so I could use Stila's 'recommended' contouring brush with their product. 

The packaging has a luxurious vibe to it, with the golden sheen and the subtle golden embossing and writing.

Stila's Duo Contour Kit Claims:
"Balance and brighten your complexion with Stila’s Shape & Shade Custom Contour Duo. Ultra-creamy and super-soft this velvety duo create a natural, sculpted look that brings facial features to life. With a how-to insert card, it’s never been easier to achieve perfect product placement and payoff.

Create enviable face dimensions with the help of Stila's Custom Contour Duo palette. The Shape and Shade powder's matte properties give a natural, sculpted look and provide buildable coverage without accentuating oily skin.

* Shape & Shade Custom Contour Duo Palette
* Buildable, sheer coverage
* Three shade combinations
* Long-wear, non-transfer, waterproof and sweat-proof."


(The above photo was taken in natural sunlight)
The Duo Contour palette definitely gives you two super smooth, creamy products that will glide over your skin with ease. I love the consistency of the products, they are easy to apply lightly and build from there. I have fairly dry skin so I do prefer to stick to cream products, dusting a shadow of NYX Taupe Blush over the top, however here in the UK, I had been importing this product for an overpriced rate, which I didn't mind too much because I love it. However they have changed the range and I'm not a fan of the new product replacement *massive sigh*.
I have swatched both shades above on my wrist to show the heavy application shade and also a lighter application. Firstly I feel that the two shades actually behave differently; the lighter shade has a more chalky consistency than the dark, leaving the dark the easiest to blend. As you can see in the photo, the lighter shade is far too dark for me to use as a highlight with an orange tint to it, which is expected because the store didn't have any of the light Duo's in stock. I do feel however that the darker shade is perfect for my contour. Being waterproof will also make this a little beauty for holidays!

 As I have been using the same contour brush for years, I have tried to give this brush a fair review.
My current contour brush is an angled tapered brush that is not as compact with the bristles. The Stila contour brush has a very dense bristles, that are super soft and pick up the product well. I did find the brush a little difficult to use at first because the head is so wide and has no angle - this is simply what I am use to. I did find that there is a knack to it, or the other option is to apply the product with the small end and then blend with the larger end.

Whilst I will probably never be able to contour like a Kardashian, both the Duo contour kit and the brush come with handy manuals which I feel would be more suited to a beginner at contouring. I cannot fault these manuals, giving basic makeup charts for different face shapes can make the whole process a lot easier for those people who aren't sure.

I will be adding the darker shade into my contour routine sometimes to switch it up, however I won't use the lighter shade simply because it isn't light enough for me. I will grab the lighter palette to test the shades when I find it in stock. I would recommend this product to anyone who may have dry skin, need a contour solution for their holidays or just someone who wants a lovely velvety cream contour option.

Have you ever tried this contour duo or brush? What do you think of the shades?

Samantha
x
July 08, 2019 48 comments


What if Red Riding Hood was so obsessed with hiding from the Wolf that she became crazy? She could hear him even when he wasn't near, she could see him behind her as she looked at windows and mirrors. She was so scared that her mind created it's own wolf from which she couldn't hide from?
For Halloween this year my workplace had notified us all that we must dress up... In all honesty I was pretty reluctant, partially because I didn't have the cash to be splurging on a full costume. I also wasn't really feeling halloween this year which isn't like me - After all I'm a self taught SFX makeup artist. I have also been a makeup artist for Twin Lakes Xtreme Scream Park event, I just didn't think it would be the most comfortable to do my work in all of the latex, prosthetics and costumes.

It was a last minute decision really to pull out my makeup kit and start working my magic...
It's easy to go in with all colours all at once, in hope that it will turn out good - realistically its not the case. The best work is done layer by layer. I started off with a white Snazaroo paint, first using a sponge to get an even layer. Then going in with a brush and giving the look a 'fur' like appearance from the brush strokes all going in the direction that fur should.
You might be wandering why I have only done half of my face... The answer for that was I had an old red riding hood costume, so I decided to put a twist on the old tale...


I had layered up a white, grey, black and then my own mixes of the paints to create a fuller looking coat.
On the left side of my face, I used a white, cream and purplish/red shade to create a smokey eye. I then used a pearly red from a Sarah G Cosmetics eyeshadow palette to give the look a bit more depth. Finishing off the eye look with a little black on the outer corner from the Makeup Rev Palette and a Maybelline gel liner.
I have to have my hair up for work, so I just left the house with the updo from the previous day - bed hair, I didn't want my hair to look overdone.
The costume I'm wearing is from Wicked Costumes - Their website is trade only, so I'm unsure where you can actually purchase this. My mother bought me mine from a charity shop.

What do you think to this look? What are you dressing as for Halloween?

Samantha
x
October 29, 2018 10 comments
Whilst away in Birmingham training to be a croupier, the early mornings and late nights left me pretty tired! I was becoming quiet bored of the food to be honest, so I suggested to my friend Harley that we have a cake buffet... Turns out she was down for that!

We went over to a small restaurant across from where we was staying during our training planning to buy every dessert on the menu.
I did ask for a larger table at the entrance desk because I knew everything we was going to buy wouldn't fit on a smaller table; but I was told we could only have the smallest table (Even though the restaurant wasn't busy.

Anyway, we were seated at this little table and the waiter came over to take our order. So off I reeled pretty much the whole of the dessert menu, minus the peanut one because we don't like peanuts.
The waiters face whilst taking this order was slightly amusing *sorry dude* but he clearly either thought we was just two greedy girls, or he thought we was joking. He took our order down regardless and took it over to his boss... We watched.

It looked like a little staff meeting was called and there were a few glances our way with smiles and we couldn't help but feel slightly embarrassed by this point. We then had the same waiter approach us and ask us if we actually want all of these puddings... Of course we do!
Then this happened again, and then the manager came over who was quite concerned, but I reassured him that it's a serious order and I am a blogger and I would like a bigger table. With that I was swiftly moved to a larger table...
 As you can see, we soon filled the table with our lineup of pudding contenders.


The Caramel Granny Apple pie - This one wasn't our favourite out of he lineup. I'm not too much of a fan of the toffee tint. Regardless it was laid out beautifully, paired with ice cream and cream. I wasn't a fan of the strawberry sauce which kind of clashed with the apple pie.

The one we thought we would hate... Surprisingly good! with a rich and creamy taste, swirled with strawberry compote throughout and had a beautiful texture that literally sliced like butter.


 The Cheesecake we wasn't really a fan of. It had a thicker consistency, not your usual squishy cheesecake. It was almost rubbery?

 The Mudslide Hot Chocolate cake was definitely my favourite, with a beautifully moist chocolate cake oozing with gooey hot chocolate ganache. Finished off with cream and drizzled with more chocolate sauce, making this dish a top contender for anyone with a sweet tooth and chocolate craving. Usually when I look at a dessert menu I'm almost torn between a classic apple crumble and a beautifully chocolaty pudding.. 99.9% of the time the chocolate wins. So this pudding definitely met it's match.
The Kinder Brenu Milkshake. 
Of course we needed something to wash to chocolates and cake down with. Right?
What better choice than a chocolaty creamy milkshake topped with squirty cream?
I did have a glass of water to cleanse the palate between every dish so each one stood a fair test though. 


The Oreo cake - This one was something I knew I wouldn't like but Harey would, I'm not a fan of Oreos but I did try a little just for the bloggy purposes. 

Ahhh the double chocolate cookie dough, now this dish there was a slightly funny story... It smelt so good when the waiter brought it to the table that I picked it up to take a closer sniff of the chocolatey scent, only the dish was boiling hot and I ended up catching my nose and chin on the dish - Don;t ask me how but it shocked me it was so hot. I almost threw it across the table! On the plus side I really enjoyed this pudding, with such a rich chocolate flavour, a mix of textures and baked perfectly so it was crisp on top but still gooey underneath.

Overall I would definitely recommend this place for your sweet cravings should you be out near Star City in Birmingham. Oodles n Oodles is actually a noodle/casual pan Asian cooking, however I hadn't had chance whilst I was away in Birmingham to give them a full review.
The restaurant itself was very clean and well presented, with industrial style lighting which I loved! There was lots of wooden decor,from tables and chairs to the frames, floors and interior wooden window frames, giving a classic rice house vibe with the twist of the modern interior.

Samantha
x
October 15, 2018 12 comments
Back on the 1st September I went to the Vintage Carnival - An event I have been desperate to attend for a few years, but due to other commitments I have never been able to. This Year I was finally available to attend so I pulled together a cute vintage outfit, pretty last minute so I went with a vintage dress and some white pumps; hair up in a curly ponytail with a quiff.

I have always loved vintage muscle cars so I was really in my element!
I'm not even usually one for pink things, but I have to admit - a Cadillac Coupe looks pretty sweet in pink!

This event was held at  Nottingham Racecourse, a perfect location for the immaculate greenery.
There were plenty of local businesses with pop up stalls, trailers and vans which is always good to see. 


The spirit of the people at the event was something else; the majority all dressed up in their vintage outfits, drinking retro cocktails and dancing to the live band music.
It was a little surprising to see the variety of ages attending, I love muscle cars and vintage elements so I really enjoyed it. There was some things for the children to do too; Toy Land Rover rides, helter skelters, ferris wheel, toys scattered around on the grass etc.

There was plenty of variety in terms of food and drink, possibly a little pricey but I guess it is a big event so its expectable. 
There were so many beautiful motors with their owners nearby, some for sale, others just in immaculate condition with unique traits and lavish interiors. A lot of the vintage cars feature leather seats and thin steering wheels - Some almost like that of a yacht. Plenty of Chevrolets, Dodges, VW Beatles... Cars with raised superchargers - Something I have only ever seen on American Car Shows in the past. I would have loved to have heard them start their engines!


Off on my way to get some food, I didn't feel like trying any Ostrich Burgers or anything of that sort.. I needed some vegetables and a decent meal as I had been away in Birmingham the week before on a work training course where the food wasn't too great.

I hope you are all having a good week, If anyone else loves vintage or muscle cars I would love to see your favourites!
If you would like to follow me over on my social media platforms, I have all of the little badges linked up on the right sidebar :)

Samantha
x
September 25, 2018 5 comments
Older Posts

About me

I am from Nottinghamshire in England!
Living and Learning,
Gym Bunny on my own road to my goals.
I love trying new products, trying new recipes and travelling to new places.

Subscribe To

Posts
Atom
Posts
All Comments
Atom
All Comments

Follow Us

Join SamanthasSnaps Blog

Labels

Cars cheat day contour desserts Events face paint Fashion Food Healthy Recipe makeup Modelling Nail Art restaurant review Retro review Soup Stage Makeup stila Travel Vintage
Blog Meets Brand

recent posts

Blog Archive

  • ▼  2022 (1)
    • ▼  April (1)
      • Second visit to Da Mario Kensington
  • ►  2020 (2)
    • ►  November (1)
    • ►  September (1)
  • ►  2019 (3)
    • ►  November (1)
    • ►  August (1)
    • ►  July (1)
  • ►  2018 (8)
    • ►  October (2)
    • ►  September (2)
    • ►  August (3)
    • ►  July (1)
FOLLOW ME @INSTAGRAM

Created with ThemeXpose